Internationalization is essential for making your app accessible to a wider audience. In this post, we’ll walk through how to quickly adapt a Next.js app to support multiple languages using the next-intl library and Codemod. Whether you’re new to i18n or looking for a more efficient workflow, this guide shows you how to cut down manual work and speed up the migration process.
A Quick Look at Internationalization
Internationalization (or i18n) is the process of adapting your application to different languages and regions. For Next.js apps, several i18n libraries exist, with next-intl being one of the most popular options thanks to its rich features and hassle-free integration. However, the traditional i18n adoption approach can be tedious—it often involves:
- Learning the nuances of an i18n library
- Modifying your codebase to manually replace hard-coded strings
Codemod steps in to automate much of this repetitive work while still leaving you in control.
Internationalizing Your Next.js App
For this tutorial, we’ll use a simple boilerplate, Next.js Starter Template (GitHub repo), as our example. This will allow us to see, step by step, how Codemod streamlines the migration process.


Step 1: Connect Your Repository
Start by logging into app.codemod.com with your GitHub account. Once logged in, connect your target repository—the Next.js starter we’re using for this demo.
Step 2: Initiate an i18n Migration Campaign
With your repository connected, start an internationalization campaign. Codemod will then automatically and securely scan your codebase for hard-coded strings. This process removes the need to manually hunt through your code for translatable text.
Step 3: Watch Codemod Work Its Magic
Once the campaign is started, Codemod does the heavy lifting. In a matter of minutes, it:
- Detects all hard-coded strings
- Transforms them into i18n-friendly versions using next-intl
- Opens a ready-to-merge pull request with the updated code
Step 4: Reviewing PRs
After the migration is done, two PRs will be opened for:
- Setting up i18n migration
- Applying i18n codemods
We switched to the 2nd branch locally and tested the project to make sure the migration was done successfully. This step is crucial as codemods might not necessarily catch all patterns, especially in complicated apps. You should carefully review the PR and iron out any potential issues beforehand.
If you’re migrating a complicated app that might need tailored codemods, we offer an enterprise tier with pro codemod support to help teams adopt i18n at record speed.
Step 5: Adding locales
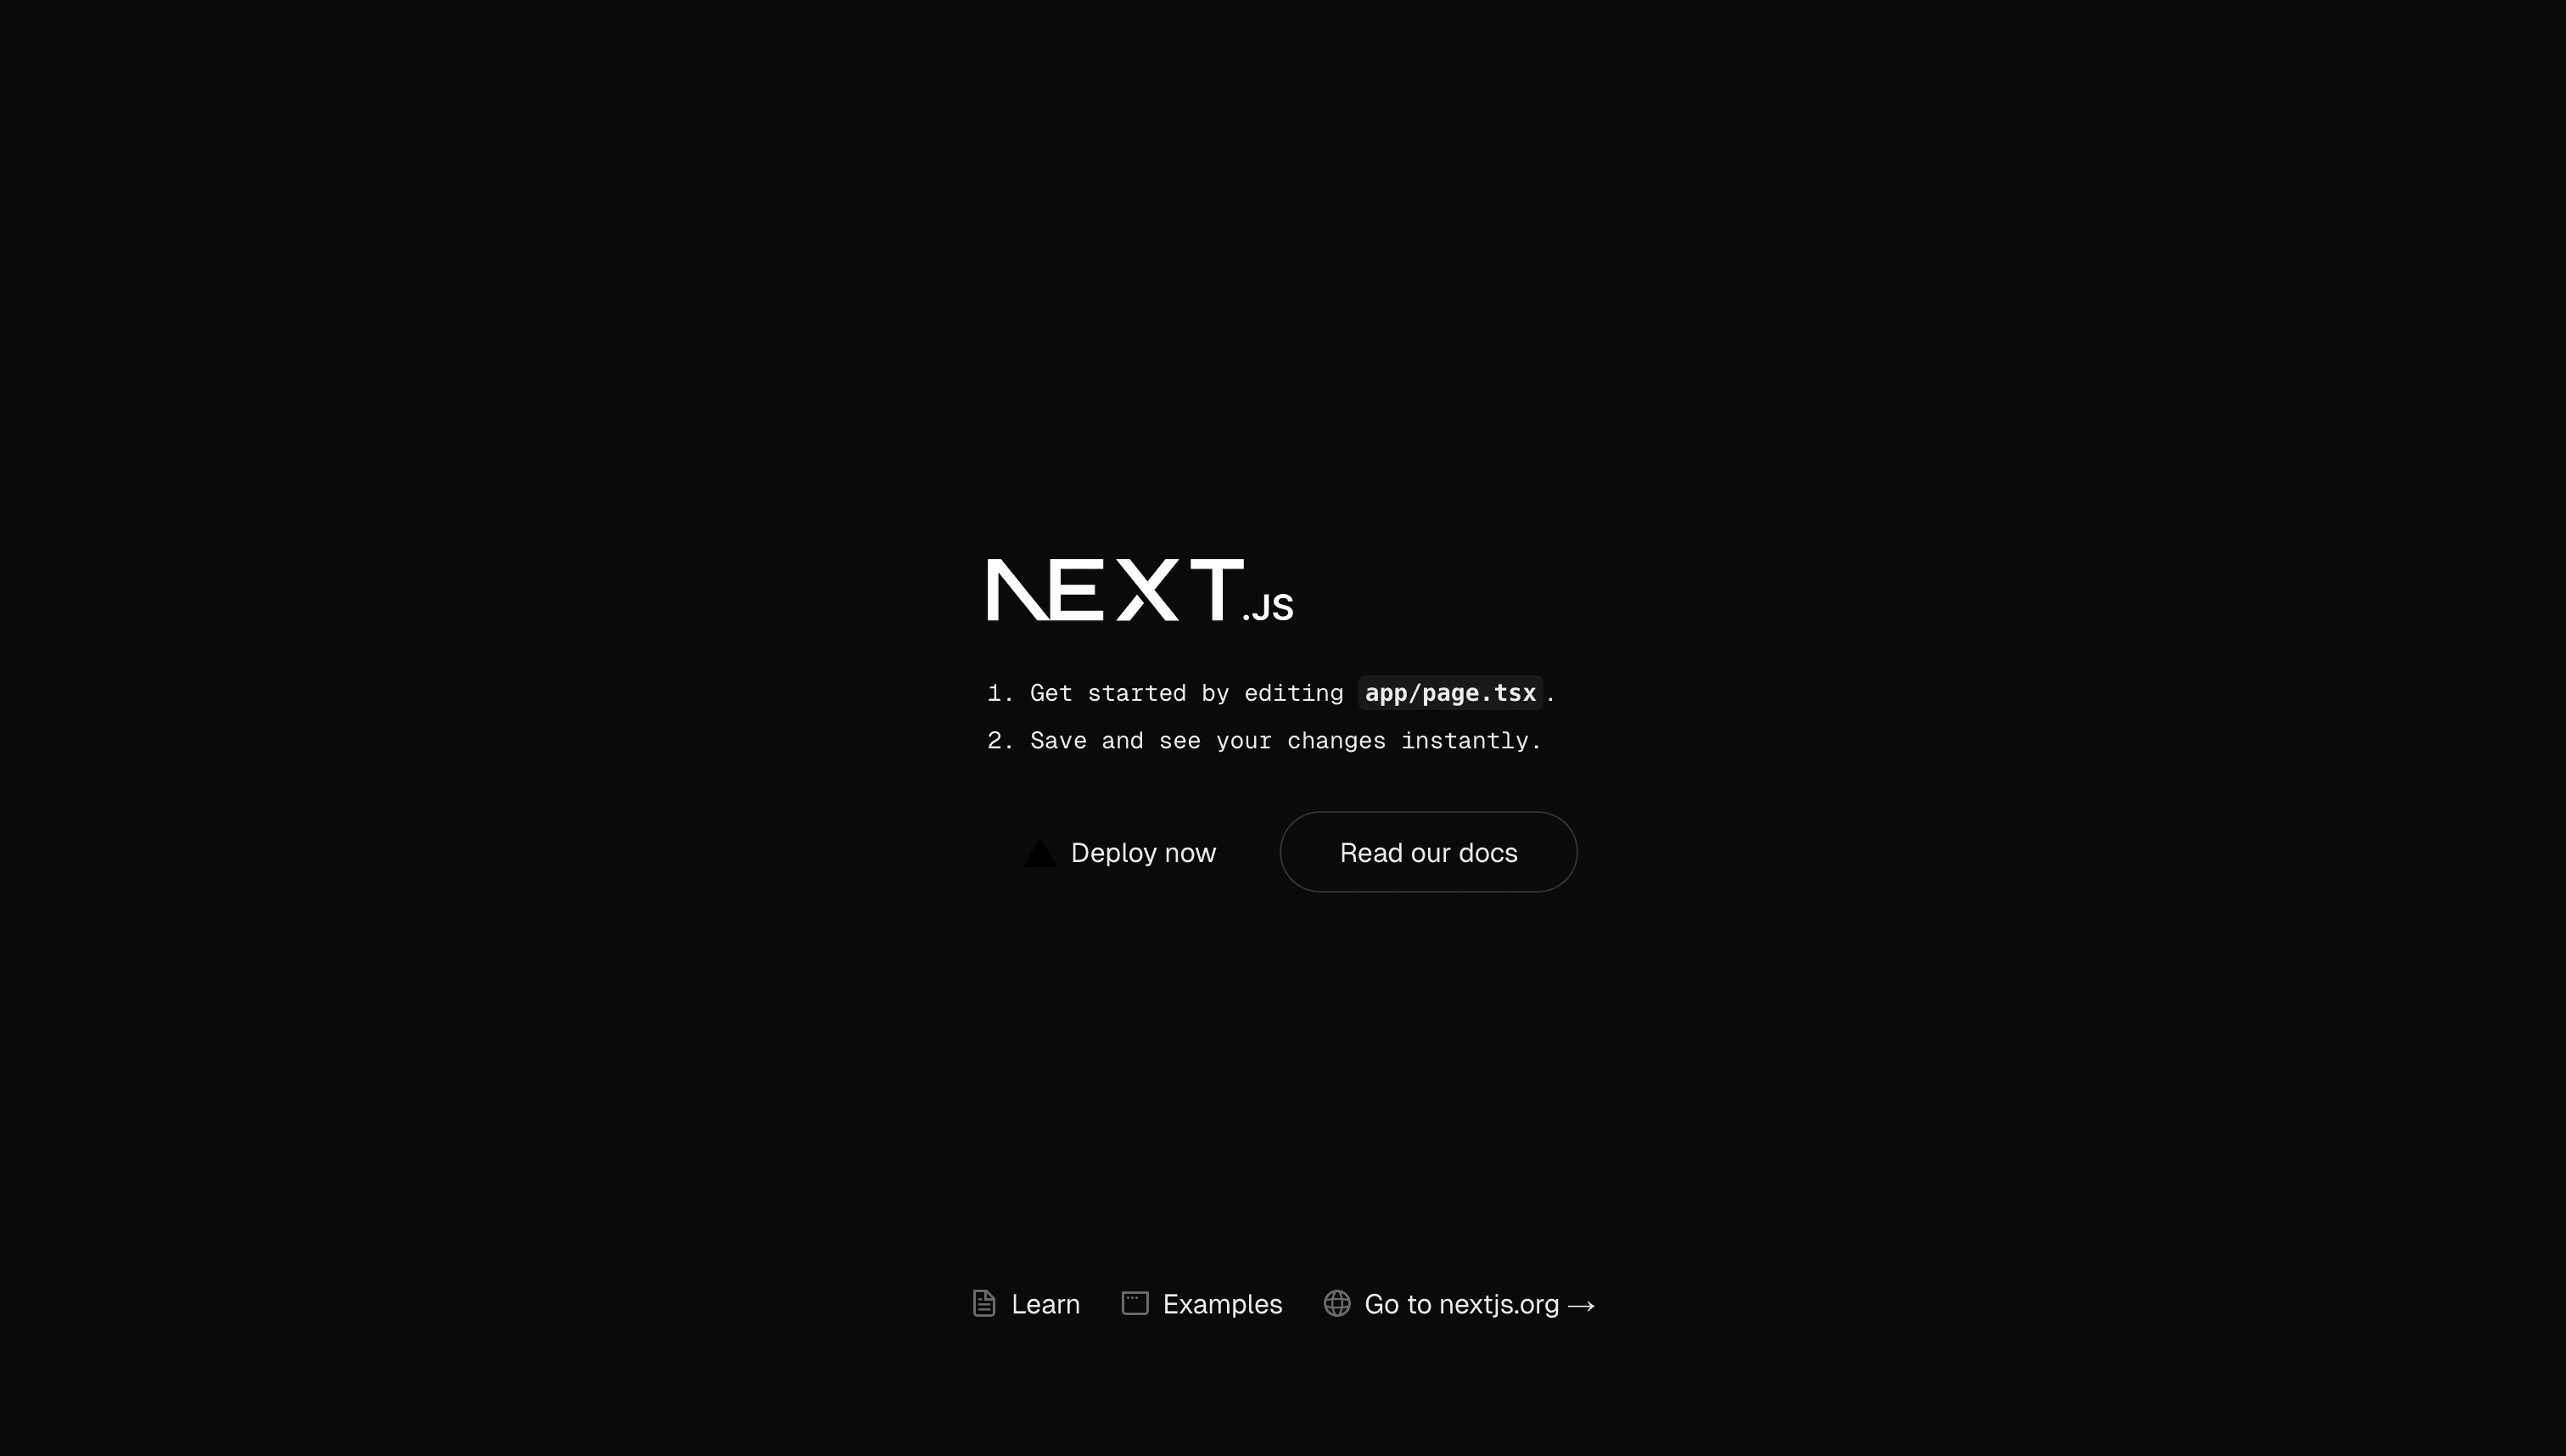
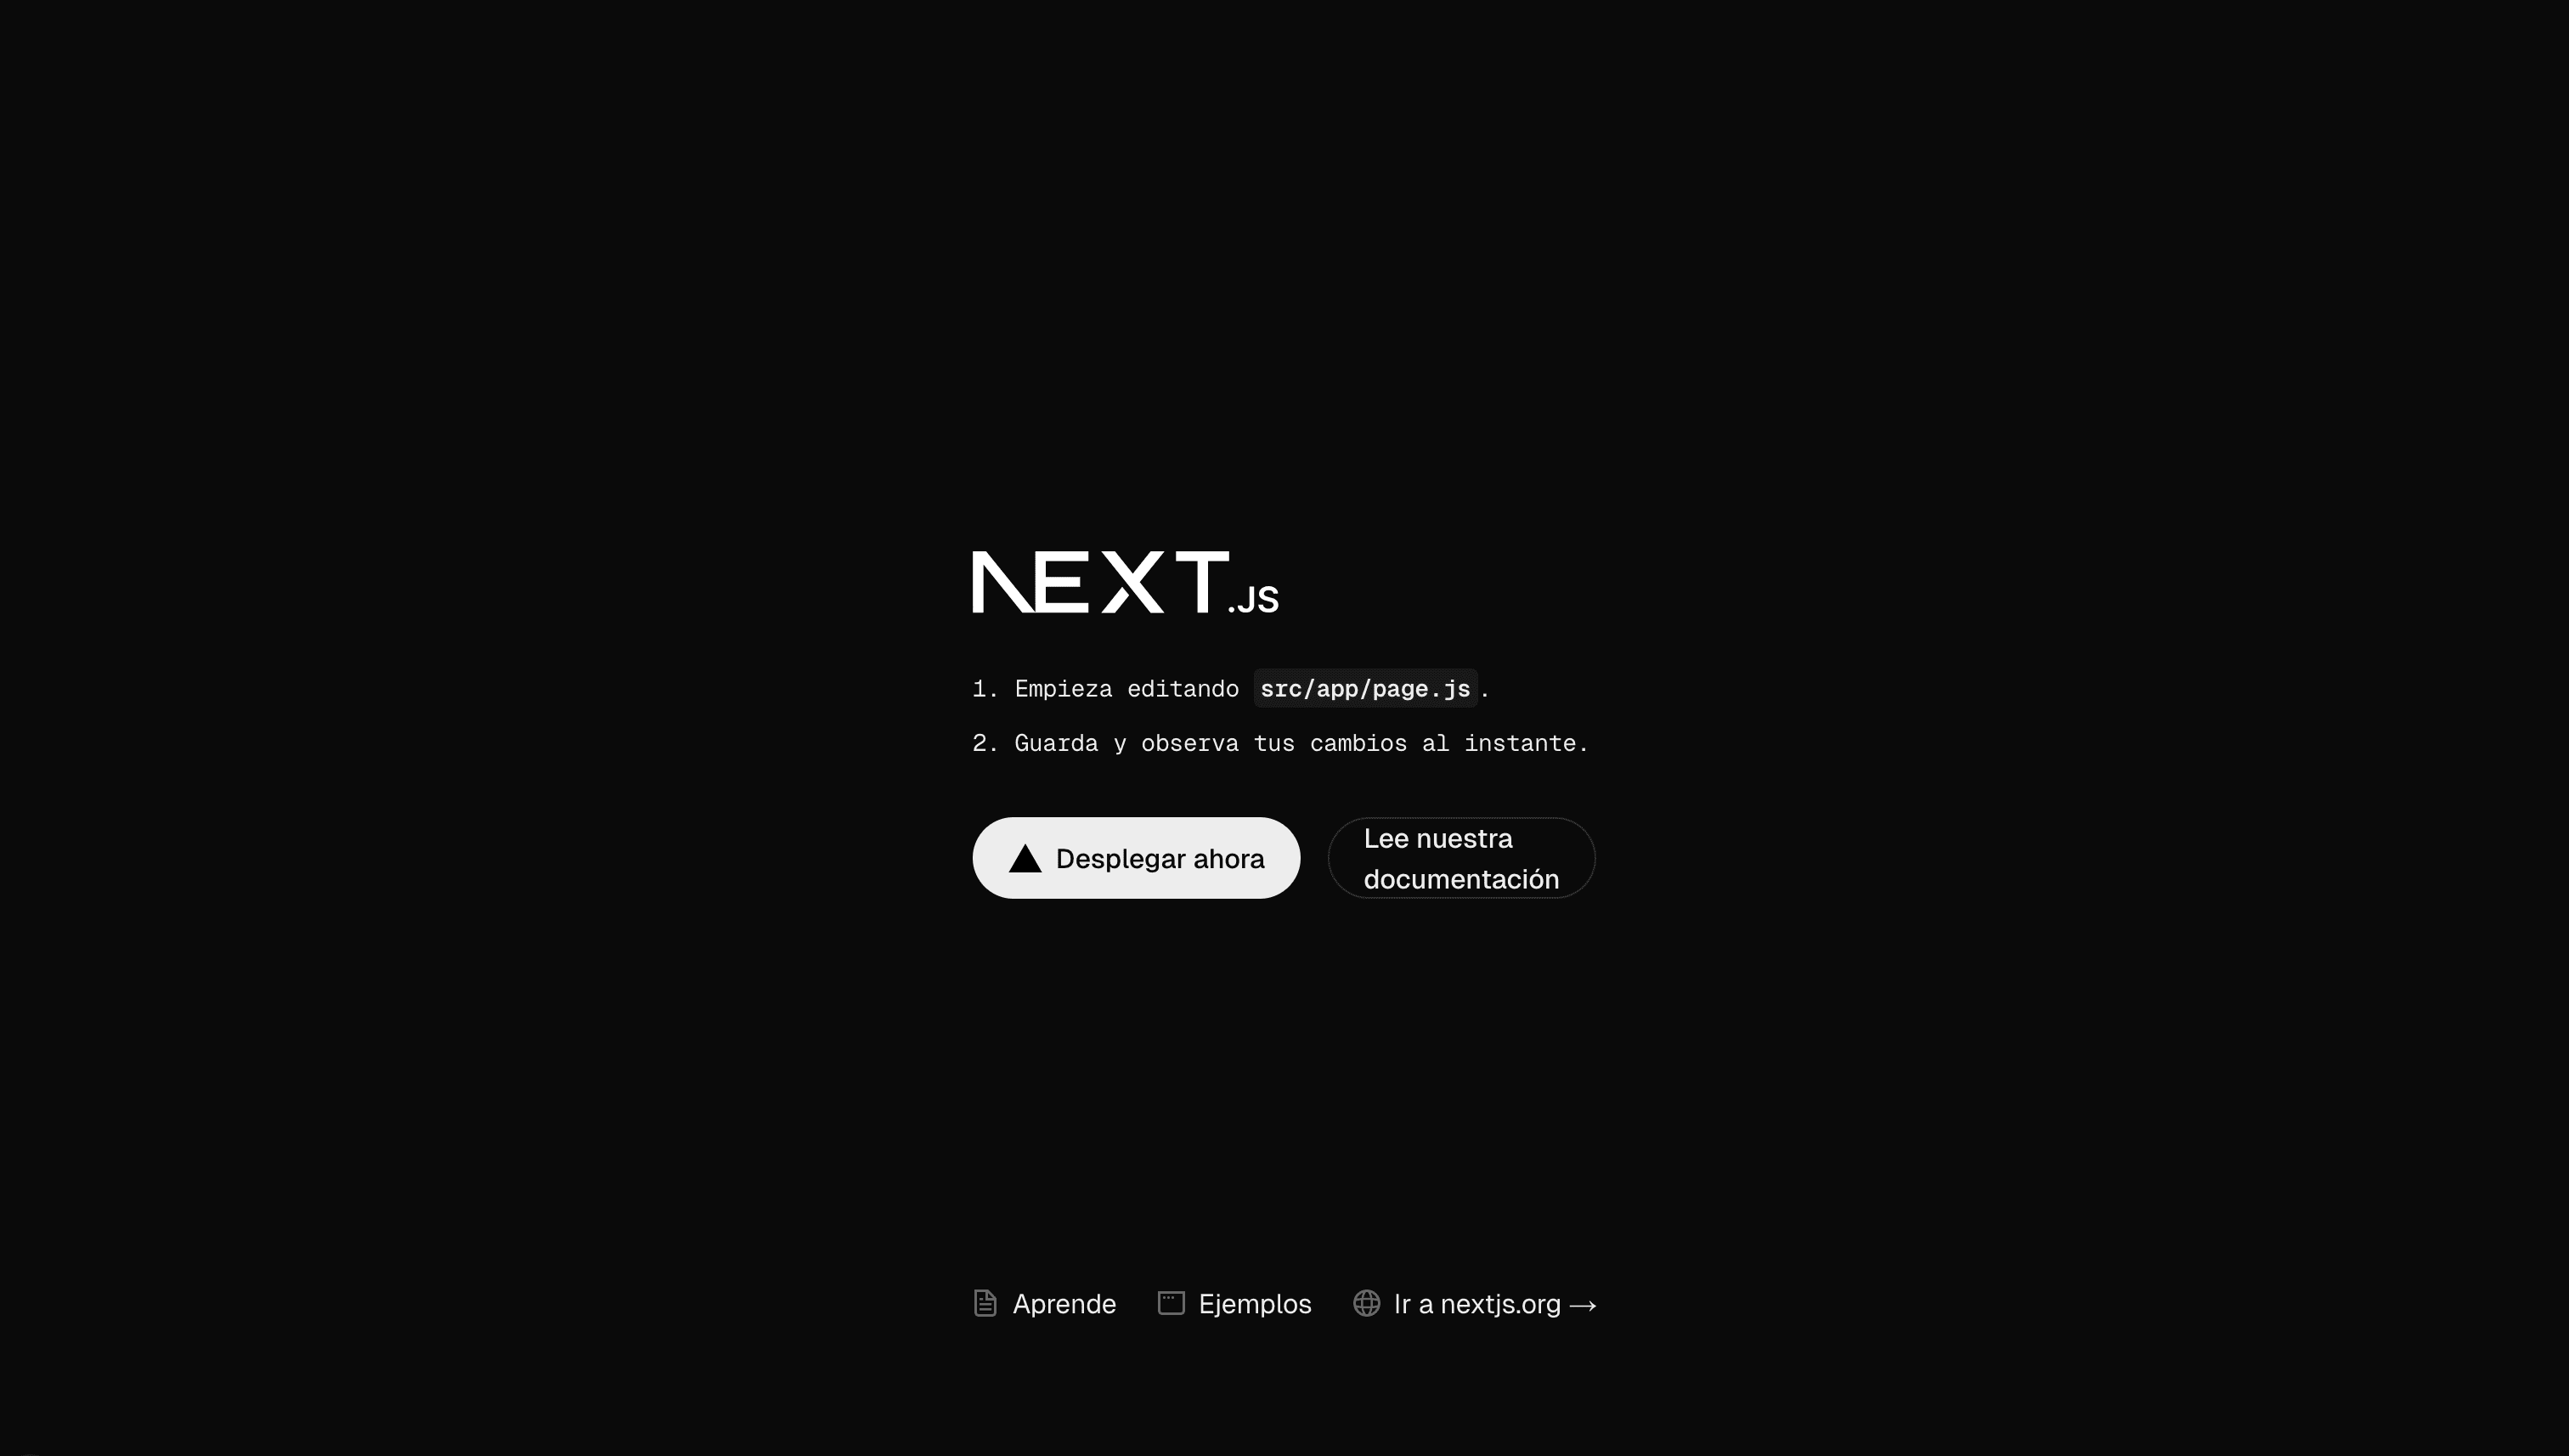
After Codemod has done its part, you’ll notice that an en.json locale file is generated. For our demo, we added another locale es.json for Spanish. Once you add the new locale to your app, and switch your default locale to es or support a locale switcher on the frontend, you’ll see that your Next.js app now renders in Spanish.


Step 6: Review and Iterate
While Codemod dramatically cuts down what used to be hours of manual work into just a few minutes, it’s important to note that no automated process is perfect. In some cases, especially with more complex app structures, a few hard-coded strings might slip through or require additional tweaks. Our tool is continuously evolving to support more scenarios, and your feedback is crucial in that process.
If you encounter any issues or have suggestions, please join our Slack community to share your thoughts and get support.
A special thanks to Jan Amann, the creator of next-intl, for his valuable feedback and collaboration in making this tutorial.
